Car Parking system using Arduino and IR Sensor is very interesting project to start playing or to demonstrate your basic understanding of Arduino Programming and Sensor Interfacing. There are many options and Algorithms to build a car parking system but here we will discuss the Arduino Car Parking system using IR Sensors. IR sensor could be used as a proximity sensor. Proximity is when sensor sense the presence of object placed near to that sensor. This proximity sensing is best suited for a car parking system using Arduino and IR Sensors. The overall algorithm to detect the vacant parking spaces in our Arduino Car Parking system is to detect how many sensors are not detecting any vehicle and how many of them are sensing the presence of the vehicle which will help us to map the grid and to figure out the vacant and occupied spaces in the parking.
Problem Statement:
First of all, let’s discuss about the problem we are going to solve in this project. The problem is very simple, to manage the parking space efficiently, to know the vacant spaces and inform users and to control and enter and exit queue of cars into the parking space. So, the project should know the vacant spaces in parking area and inform user which spot is available for him to park his car. This way we can manage the parking space efficiently and if the parking space is full, we will not allow further cars to enter into the parking space until some space is vacant again by exiting already parked vehicles.
So overall in this project, we are going to make a car parking system using Arduino and IR sensors. This car parking system using Arduino is a smart parking system using Arduino. We will explain the grid parking system as well as the vertical car parking system. This smart car parking system using Arduino 🚗🚨 is efficient and use 16×2 LCD interfacing with Arduino to display the available parking spaces. This system automatically assign a parking space to a newly entered car and open a barrier 🚧. This barrier is attached with a servo motor interfaced with Arduino uno
Required Components
Here is the list of components which you may require while developing an Arduino Based Smart Car Parking system. This system required mechanical parts like motors to control the barriers and sensor fusion to detect the proximity of vehicles occupying the parking slot. So, there are two options like IR Sensor which we are using in this project, there is also another sensor which could be used, and that sensor is Ultrasonic Sensor with Arduino. We can also use the Ultrasonic sensors with the Arduino to detect the proximity of the vehicles. Here is the list.
- Arduino Uno
- Servo Motor for barrier control
- IR sensors for proximity detection
- 16×2 LCD for displaying available Parking Space or Indicating if Parking is full
- Buzzer to beep if parking is full
- Mounting brackets, stands, or housings to secure sensors in place
- Motor driver modules to control the barrier gate motor. You may need this if you are using DC motor or Stepper motor. Servo could be directly interfaced with Arduino
- Power source for the Arduino board and motor controllers
Occupancy Grid Mapping
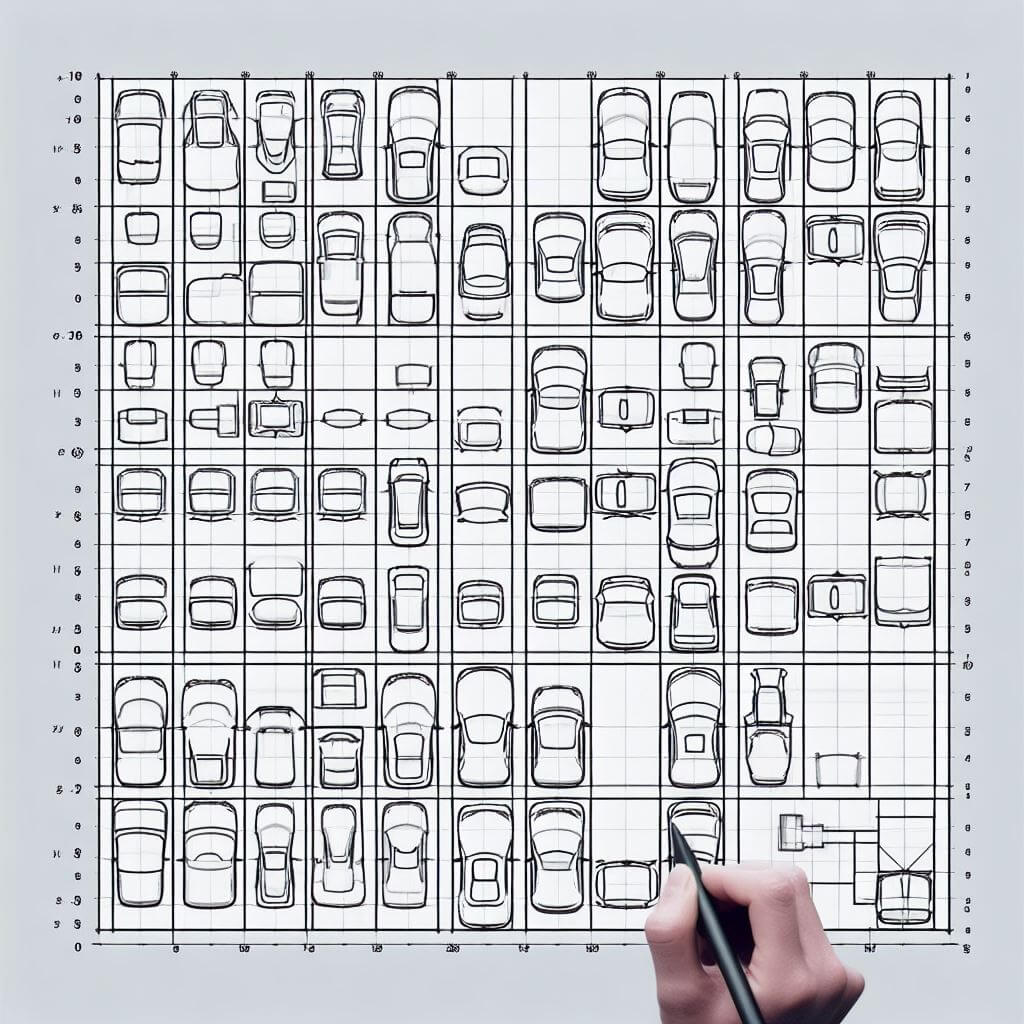
In the parking system we have to think about how to represent the parking space. The parking space in our project of Smart Car Parking System using Arduino and IR Sensor is represented using the Grid. After that we can map the Grid Occupancy. We need to divide the Parking space into some kind of Grid. Once we divided the parking space into the grid, we can represent it in our coding with 2d Array and could handle this using Occupancy Grid Mapping Algorithm.
- ESP8266 Firebase Realtime Database Data Writing Without any Library
- ESP32+MPU6050 Interfacing without Adafruit Library
- Android Kotlin Firebase UI for Google SignIn Method
- Get Start with GCC ARM Embedded Toolchain
- My Docker Stopped working and this is How I fixed it
const int R = 5; // Number of rows
const int C = 5; // Number of columns
int P[R][C];

void init() {
    for (int i = 0; i < R; ++i)
        for (int j = 0; j < C; ++j)
            P[i][j] = 0;
}

void update(int r, int c, int s) {
    P[r][c] = s;
}

void setup() {
    init();
    int row = 2;
    int col = 3;
    int status = 1;
    update(row, col, status);
}
Code language: Arduino (arduino)
What is Grid Mapping
Grid mapping is a technique to represent the environment with the help of grid using sensors data. In our case these sensors are IR sensors which are representing the environment which in our case is parking space.
|IR|IR|IR|IR|IR|
|  |  |  |  |  |
|IR|██|██|██|IR|
|  |  |  |  |  |
|IR|██|██|██|IR|
|  |  |  |  |  |
|IR|██|██|██|IR|
|  |  |  |  |  |
|IR|IR|IR|IR|IR|
IR Sensor Fusion
Once we created the parking space as grid, we can mount the IR sensors into that grid. One sensor per cell. So, when the card is placed in front of the sensor the sensor will detect the proximity of the vehicle and indicate the main microcontroller which in our case is Arduino. The Arduino will be aware that that cell is occupied and update the Occupancy Grid using mapping algorithm. Two IR sensor would be placed on the barrier which will check the enter and exit of the vehicle. So, when the IR sensor placed at the entrance detects that the vehicle is there waiting for barrier to open, it will read the grid Occupancy, and if there is vacant space available it will allot a cell to that vehicle and open the barrier using the Servo motor.
const int ROWS = 5; // Number of rows
const int COLS = 5; // Number of columns
int parkingGrid[ROWS][COLS];

void initParkingGrid() {
    for (int i = 0; i < ROWS; ++i)
        for (int j = 0; j < COLS; ++j)
            parkingGrid[i][j] = 0;
}

bool isSpaceAvailable() {
    for (int i = 0; i < ROWS; ++i) {
        for (int j = 0; j < COLS; ++j) {
            if (parkingGrid[i][j] == 0) {
                return true; // Space available, return true
            }
        }
    }
    return false; // No space available, return false
}

void allocateParkingSpace(int row, int col) {
    for (int i = 0; i < ROWS; ++i) {
        for (int j = 0; j < COLS; ++j) {
            if (parkingGrid[i][j] == 0) {
                parkingGrid[i][j] = 1; // Allocate the parking space
                row = i;
                col = j;
                return;
            }
        }
    }
}

void setup() {
    initParkingGrid();
    int enteringRow, enteringCol;

    if (isSpaceAvailable()) {
        allocateParkingSpace(enteringRow, enteringCol);
        // Open barrier using Servo motor and update grid occupancy
    } else {
        // No space available, display a message or take appropriate action
    }
}
Code language: Arduino (arduino)
16×2 Lcd Interfacing with Arduino Code
Once we have done with our basic algorithm for parking space grid mapping, we are good to step ahead and add further display to let user know the available parking spaces. We are using JHD1602 Liquide Crystal Display which is also known as 16×2 lcd with Arduino. The basic example for utilizing the LCD could be found in the Arduino examples under the Liquid Crystal section.

Here is the code which you can find under the example section and which we will extend further.
// include the library code:
#include <LiquidCrystal.h>

// initialize the library by associating any needed LCD interface pin
// with the arduino pin number it is connected to
const int rs = 12, en = 11, d4 = 5, d5 = 4, d6 = 3, d7 = 2;
LiquidCrystal lcd(rs, en, d4, d5, d6, d7);

void setup() {
  // set up the LCD's number of columns and rows:
  lcd.begin(16, 2);
  // Print a message to the LCD.
  lcd.print("hello, world!");
}

void loop() {
  // set the cursor to column 0, line 1
  // (note: line 1 is the second row, since counting begins with 0):
  lcd.setCursor(0, 1);
  // print the number of seconds since reset:
  lcd.print(millis() / 1000);
}
Code language: Arduino (arduino)
The main thing to note here is the pins which you are going to use which is provided under the LiquidCrystal constructor. You need to replace the pins according to your own configuration if it is different then ours. You should carefully check the pins you are using and then mention them in the LiquidCrystal constructor.
Servo Motor Interfacing with Arduino barrier control
Because we are using the Servo Motor to control the barrier, we also need the example code to interface the servo motor with the Arduino. We are using the mini servo and adding a barrier with it. You can create any plastic or wooden barrier on top of the servo wiper. If you go to the example section in the Arduino IDE you can find the servo example as well which you can use to turn the servo in any angle. Basically it is simple ppm ( pulse position Modulation) which you can use to run the servo motor. You can provide the Pulse Positioned Modulated signal to turn the motor in specified angle. The reason of using the Servo Motor here is the precise angle control movement which is necessary to open and close the barrier. This barrier would allow or block the entry of the vehicle inside our parking space. Here is the example code to drive the servo motor for opening and closing the barrier.
#include <Servo.h>

Servo myservo;  // create servo object to control a servo
int openAngle = 90; // predefined angle for open position
int closeAngle = 0; // predefined angle for close position

void setup() {
  myservo.attach(9);  // attaches the servo on pin 9 to the servo object
}

void openBarrier() {
  myservo.write(openAngle);
  delay(1000); // Wait for 1 second with the barrier open
}

void closeBarrier() {
  myservo.write(closeAngle);
  delay(1000); // Wait for 1 second with the barrier closed
}

void loop() {
  // Open the barrier
  openBarrier();

  // Close the barrier
  closeBarrier();
}

Code language: Arduino (arduino)