In this article we are going to explain how to Run Raspbian Strech in Windows using Qemu Emulator. Emulation is always helpful while prototyping and in case of Raspberry Pi it is very helpful to emulate our rasbian image with help of some virtual machine like Qemu. So fasten your seat belt because we are going to explain the most easy and straight forward method to do this. Qemu is light weight and will not add extra burden to your regular windows usage. You can use it in full screen or compact screen as well. Also Qemu will help you to run Command line or Desktop version of latest Rasbian Stretch Image.
Download Rasbian Image
First of all go to Rasbian official website and download latest version of Rasbian Image. You need to download .img file. No need to download the Noobs version. You can choose between one of two available options. Either you can download image via Torrent or you can also directly download the Rasbian via Direct download option. This comes in zip file format and once download will be completed you will see that it contains one file with .img extention. In my case I had downloaded file named 2018-11-13-raspbian-stretch.img. So as you can see that this file is the full form of the the version release. You may also rename the file for shorthand typing although I am giving you the full form text of the command to run the qemu emulator with this image. If you wish to use the lite version. Which do not have Desktop installed in it and came with terminal login session you can choose the file with name lite included in it 2018-11-13-raspbian-stretch-lite.img. No matter what image you choose it will be acceptable only that version will be running on your virtual machine. So be careful or you may also choose multiple version to test or play with.
Download and Install Qemu
Qemu is very useful and light weight Virtual machine Emulator. To download Qemu just go to their official website and navigate to their download section. After you are their, select download package that meet your operating system’s need. In my case I am using Windows 7 (Some bugs are reported on Windows 8 and 8.1, so be careful about that) and my machine is 64 bit. So I am downloading the x64 bit version of Qemu. Once you downloaded installer, its time to install. Just double click the installer and follow along steps provided by installer. Make sure to run this as Administrator and the download location should be “C:\Program Files\qemu”. This location is very important as you are going to place your other files in this directory and also to run the virtual machine you have to navigate to this path. So it is good to make this as short as possible so that it become handy to use at command prompt.
Kernel and dtb file
If you are going to run Rasbian Stretch image as our case, then you have to download two more files. One is kernel file which support Stretch version and dtb file. Both of these files will be placed in the same folder in which you installed your Qemu. Also note that you also have to place your rasbian image in same directory. If you are using an older Rasbian version you may use linux kernel, But I will recomend to download kernel from this repository. This is dedicated to Rasbian related linux kernels and also it provide help to run the proper version of image. I used kernel-qemu-4.9.59-stretch version of kernel file. Also according to this repository it clearly says that if we are using latest Rasbian versions we also need one more dtb file.You may download this file from same repository with download link.
Running Virtual Machine
Now that we had downloaded all of our files, Its time to run our virtual machine and see some success happening. So to do this just open command prompt as an Administrator. To do this just open start menu and type cmd in search box. Once cmd.exe application appears just right click and choose Run as Administrator option from context menu. Now navigate to the location where you had installed your qemu and placed all of your previously downloaded files. Once you are there just type the following command. If you not feel comfortable typing you can also copy and paste this
qemu-system-arm -kernel kernel-qemu-4.9.59-stretch -cpu arm1176 -m 256 -M versatilepb -dtb versatile-pb.dtb -no-reboot -append "root=/dev/sda2 panic=1 rootfstype=ext4 rw" -net nic -net user,hostfwd=tcp::5022-:22 -hda 2018-11-13-raspbian-stretch-lite.img
As you may notice that we had provided lite version of image you can use any other version but command will be modified accordingly. You can refer to the kernel repository for command for other version.
First Look
Once you hit enter after typing above command it will take some time to run the image, so have patience. It may also require few internal network permissions, Please grant those to run virtual machine properly. Here is screenshot of lite version first run

Once booting process is completed this will show terminal screen and ask for username and password. By default username is “pi” and password is “rasberry” You can use this username and password and it will take you directly to the terminal like this

Now you can type rasp-config command to go into raspberry pi configuration screen. Buf if you try to enable desktop it will prompt you that Desktop is not installed and ask your permission to install it.

Running Full Desktop Version
If you had downloaded complete Desktop version of Rasbian Stretch then you will be taken to Desktop and pi user will automatically be logged in and you will see setup screen like this. Which will also ask you to change default password. It will be upto you either you want to change it here or just press next button to skip it.

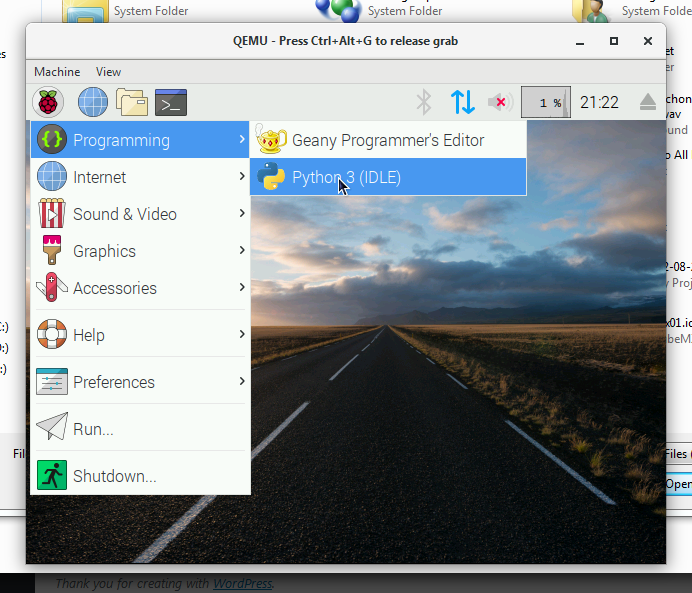
You may now press start button which is just raspberry Logo image and will be able to see full menu and also could change configuration from preference menu

Shutdown or Reboot
Now you can play with this or emulate whatever possible option you need to emulate and once you are done you can simply go to menu and on last Option Select shutdown. It will prompt you a menu like this

either you choose shutdown or reboot both will close the virtual session. You may be wonder shutdown make sense but why reboot also shutdown qemu virtual session? Well this is because of the command parameter which we provided while starting the virtual machine which tells qemu not to reboot.
Further Readings
If you still need some more advance options of Qemu to play with then I am providing few more helpful links to the articles.
- Using Qemu to emulate Rasbian
- Emulate Raspberry Pi with Qemu
- Official Qemu Documentation
- Penetration Testing with Raspberry Pi by Muniz, J. and Lakhani, A. ISBN 9781784394127
Still have some question? Feel free to comment I will try my best to answer as soon as possible.