Today we are going to build a Bootstrap 5 file upload with drag and drop zone. The need of file upload input filed is very important. Almost every web-based project does need it most of the time. I recently came to this need where I have to implement my project about image processing in python where I have to upload an image and it will be submitted to the backend python API which process the uploaded image and return that processed image along with the results.
I will be discussing this in my upcoming article. But for today’s article, let’s just focus on the Bootstrap 5 plain HTML CSS and JavaScript which is totally about building the front-end. We will rest the discussion of backend for later articles. This article will also be reused in many of my upcoming articles with various technologies where I do need a file uploading drag and drop zone. So, let’s begin.
Table of Contents
1. Create Basic Project to get start
First of all, you need to create your project with directory structure or just for the experiment, you can also create a simple index.html or home.html file whatever you prefer. If you are just using the simple HTML file, you can copy the bootstrap 5 boilerplate code to get started from its official website.
Bootstrap 5 Starter Template
Bootstrap 5 starter template is taken from their official getting started guide. I just omitted the unnecessary js includes and leave with a plain simple nice-looking template to get started with bootstrap 5 framework. Here is our basic starter template.
<!doctype html>
<html lang="en">
  <head>
    <!-- Required meta tags -->
    <meta charset="utf-8">
    <meta name="viewport" content="width=device-width, initial-scale=1">

    <!-- Bootstrap CSS -->
    <link href="https://cdn.jsdelivr.net/npm/bootstrap@5.0.2/dist/css/bootstrap.min.css" rel="stylesheet" integrity="sha384-EVSTQN3/azprG1Anm3QDgpJLIm9Nao0Yz1ztcQTwFspd3yD65VohhpuuCOmLASjC" crossorigin="anonymous">

    <title>fypsolutions.com</title>
  </head>
  <body>
    <h1>Bootstrap 5 File Upload with Drag and Drop</h1>


    <script src="https://cdn.jsdelivr.net/npm/bootstrap@5.0.2/dist/js/bootstrap.bundle.min.js" integrity="sha384-MrcW6ZMFYlzcLA8Nl+NtUVF0sA7MsXsP1UyJoMp4YLEuNSfAP+JcXn/tWtIaxVXM" crossorigin="anonymous"></script>

  </body>
</html>
Code language: HTML, XML (xml)
Create and run Vanila Js Project with Vite.js
The second option is to create a vanila js project with vite.js framework. It will help us to host the project with npm. We can simply install the node.js package and npm package manager. Navigate to the command prompt with our desired directory and just hit the npm create vite@latest command and it will ask our project name and after that It will ask us to select from different JavaScript front-end frameworks which includes, React, Vue, Preact, Svelte etc. But we are just creating a vanila js project for the sake of simplicity and rest would be left for upcoming usage.

Next, it will asks us the option to choose from TypeScript or JavaScript and we are just choosing the JavaScript.

Once done, it will explain us to navigate to our project directory and to run our project. Here are what commands it will give at the end.
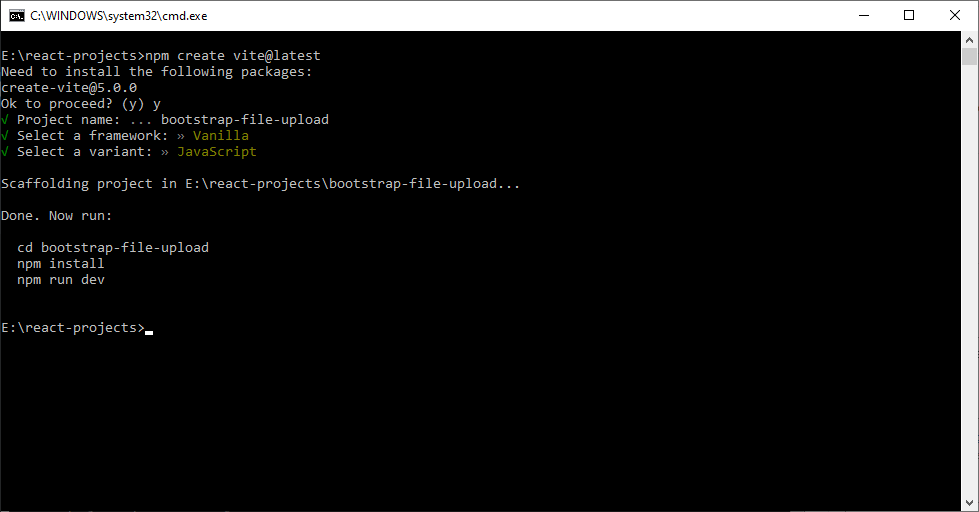
So it basically tell us to navigate to the directory and run npm install and after that just hit npm run dev to run our project.
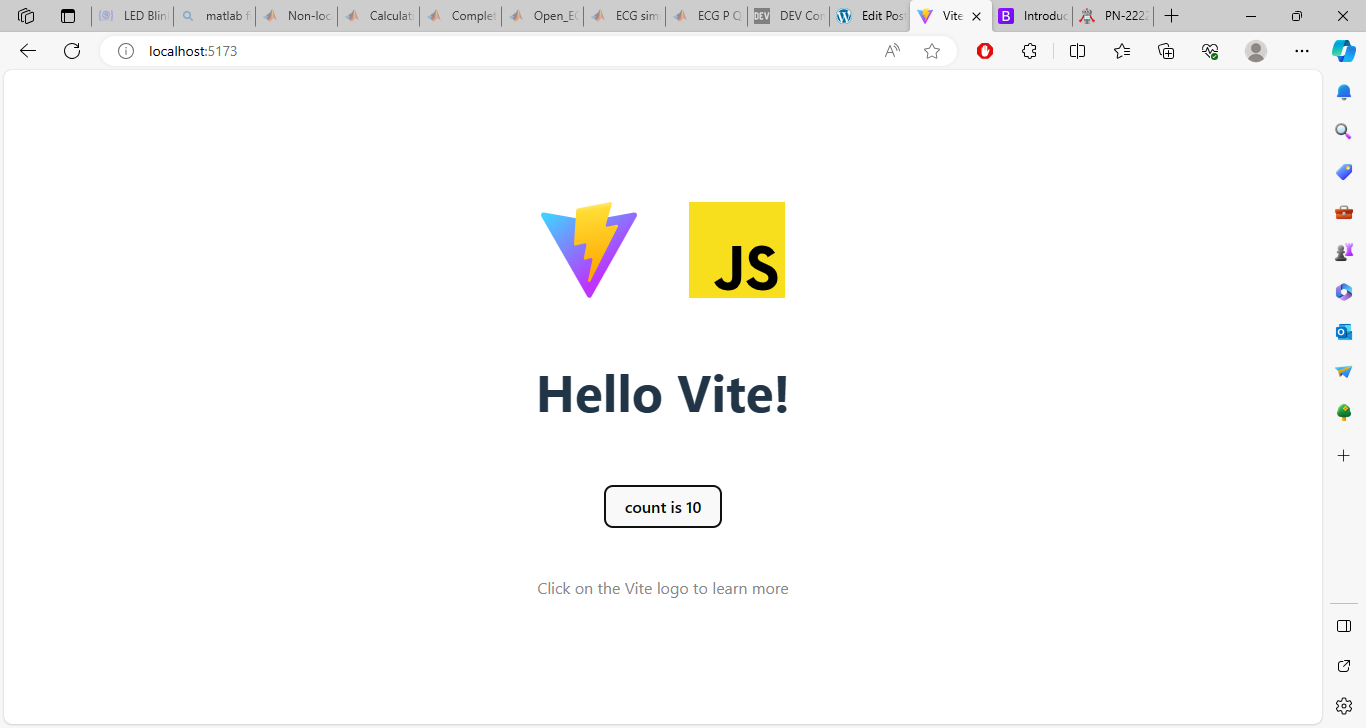
Once we done with it, it will give us the following url which we can copy to our browser and our project is running.
When we hit that URL in our browser, we will get default vite.js template which will look just like this.
Now Open this project in Visual Studio Code or any of your favorite IDE. It contains the following file structure.

Matching index.html with Bootstrap 5 starter template
So, we have main.js file, which includes the counter.js file which ultimately make a simple button counter which we do not need in this project so we will remove everything which is not required. There is also an index.html file where we are going to add our Bootstrap 5 CDN links along with Bootstrap 5 js file links and pooper.js links to match our above Bootstrap 5 starter template. We also have one style.css file which is also included in our index.html file.
Now remove all unnecessary CSS from style.css and main.js file. Also, to match it with the Bootstrap starter template. Here is our final index.html file
<!doctype html>
<html lang="en">
  <head>
    <meta charset="utf-8">
    <link rel="icon" type="image/svg+xml" href="/vite.svg" />

    <meta name="viewport" content="width=device-width, initial-scale=1">
    <title>Bootstrap demo</title>
    <link href="https://cdn.jsdelivr.net/npm/bootstrap@5.2.3/dist/css/bootstrap.min.css" rel="stylesheet" integrity="sha384-rbsA2VBKQhggwzxH7pPCaAqO46MgnOM80zW1RWuH61DGLwZJEdK2Kadq2F9CUG65" crossorigin="anonymous">
    <link href="/style.css" rel="stylesheet" >
  </head>
  <body>
    <h1>Hello, world!</h1>
    <script src="https://cdn.jsdelivr.net/npm/bootstrap@5.2.3/dist/js/bootstrap.bundle.min.js" integrity="sha384-kenU1KFdBIe4zVF0s0G1M5b4hcpxyD9F7jL+jjXkk+Q2h455rYXK/7HAuoJl+0I4" crossorigin="anonymous"></script>
    <script type="module" src="/main.js"></script>
  </body>
</html>Code language: HTML, XML (xml)
and this is now what our main page looks like.

We can also add the bootstrap to our Which recommends adding Bootstrap to your project with npm package manager. With the help of official Bootstrap Vite setup guide. So, all you have to do is to navigate to the command prompt and hit the following commands to install the Bootstrap and popper to your vite.js based vanilla js project.
2. Create Bootstrap 5 File Upload Input Field
Before jumping into the drag and drop file upload component, let’s start with a basic Bootstrap 5 file upload input field. We can navigate to bootstrap 5 templates for the file upload examples and grab one of basic examples in our use case. This is what our basic file upload input field code looks like.
 <div class="container py-4 px-3 mx-auto">
      <h1>Hello, Bootstrap and Vite!</h1>
      <div class="mb-3">
        <label for="formFileMultiple" class="form-label">Multiple files input example</label>
        <input class="form-control" type="file" id="formFileMultiple" multiple>
      </div>
      <button class="btn btn-primary">Primary button</button>
    </div>

Code language: HTML, XML (xml)
Horizontal and Vertical Align Center Div
Let’s create a center div with file input. Also make the submit button form-control to make it full width. .d-flex class is used to make the mx-auto and my-auto classes which will align the div in center as horizontal and vertically. Bootstrap is using the flex box so we need to mention this class. We also added border border-4 border-primary classes to apply the border. Once everything is done the simple file upload code will be this.
<!doctype html>
<html lang="en">

<head>
  <meta charset="utf-8">
  <link rel="icon" type="image/svg+xml" href="/vite.svg" />

  <meta name="viewport" content="width=device-width, initial-scale=1">
  <title>Bootstrap demo</title>
  <link href="https://cdn.jsdelivr.net/npm/bootstrap@5.2.3/dist/css/bootstrap.min.css" rel="stylesheet"
    integrity="sha384-rbsA2VBKQhggwzxH7pPCaAqO46MgnOM80zW1RWuH61DGLwZJEdK2Kadq2F9CUG65" crossorigin="anonymous">
  <link href="/style.css" rel="stylesheet">
</head>

<body class="vh-100 d-flex">
  <div class="border border-4 border-primary p-3 my-auto mx-auto">
    <div class="container py-4 px-3 mx-auto ">
      <h1>Bootstrap 5 File Upload</h1>
      <div class="mb-3">
        <label for="formFileMultiple" class="form-label">Multiple files input example</label>
        <input class="form-control" type="file" id="formFileMultiple" multiple>
      </div>
      <button class="btn btn-primary form-control">Submit</button>
    </div>
  </div>
  <script src="https://cdn.jsdelivr.net/npm/bootstrap@5.2.3/dist/js/bootstrap.bundle.min.js"
    integrity="sha384-kenU1KFdBIe4zVF0s0G1M5b4hcpxyD9F7jL+jjXkk+Q2h455rYXK/7HAuoJl+0I4"
    crossorigin="anonymous"></script>
  <script type="module" src="/main.js"></script>
</body>

</html>Code language: HTML, XML (xml)
We apply vh-100 to make this view port 100vh to take the full height. Which will enable the vertically center align div in Bootstrap 5. Here is our final look.

3. Drag and Drop Area Creation
The first step is to give your drag and drop div an ID. In my case, I am calling it an id='drop-area'. I am giving this id to the most outer div which is bordered. So, everything inside this bordered area is considered as Drag and Drop Area. We can apply little CSS for the drop-area id. We can also apply the dashed border for this.
Modify style.css file:
#drop-area {
    border: 2px dashed #ccc; /* Dashed border with a light gray color */
    padding: 20px; /* Add padding for better visibility */
    text-align: center; /* Center text horizontally */
    cursor: pointer; /* Set cursor to pointer to indicate interaction */
  }

  #drop-area.highlight {
    border-color: #007bff; /* Highlighted border color */
    background-color: #f0f8ff; /* Highlighted background color */
  }Code language: CSS (css)
Apply drop-area class to div:
Our drop-area div will look be modified with these attributes.
<div class=" p-3 my-auto mx-auto" id="drop-area">
</div>
Code language: HTML, XML (xml)
Quick Style change summary:
Now the main changes that we did are.
- Reduced border size to 2px
- Make border dashed
- Apply light gray color to the border instead of bootstrap primary blue color.
- Changed the cursor to pointer when it enters into the drop zone area.
- Created a new
drop-area.heighlightclass to apply the highlight color of border and background.
4. HTML Drag and Drop API
Now we are going to focus on Drag and Drop behavior, which we will control through the JavaScript. We need to apply the JavaScript from our <script> tag or from the main.js file which we included inside our index.html file. If you want to know the basics of HTML Drag and Drop API (w3schools.com) This tutorial is very helpful to understand the basics. We will just focus on the JavaScript Behavior overriding here.
In HTML we can make any element to be dragged and any element can accept the drop. We just have to enable the respective attributes of that element. There are some methods which handles this behaviour. For example, <div id="div1" ondrop="drop(event)" ondragover="allowDrop(event)"></div>
Here the ondrop event and the ondragover event are making this div accepting some data to be dropped to them. These events are being captured in custom JavaScript functions drop(event) and allowDrop(event) respectively.
5. JavaScript Drag-and-Drop Logic
We need to handle the drag and drop logic in JavaScript. So let’s move to the main.js file. We can manipulate Document Object Model (DOM) to interact with HTML elements using JavaScript. This way, we can easily override the default drag and drop behavior and make it possible to handle file drag and drop to handle file inputs.
Get drop-area Element by ID
First of all we need to get the reference of HTML elements which are handling the drag and drop functionality. Here we are just focusing on the drop-area and file-input. Here is how we can get both of them elements by id in our JavaScript.
 <div  id="drop-area">
      <div class="container py-4 px-3 mx-auto ">

        <div class="mb-3">
          <label for="file-input" class="form-label">Multiple files input example</label>
          <input class="form-control" type="file" id="file-input" multiple>
        </div>

        <button class="btn btn-primary form-control">Submit</button>
      </div>
    </div>

<script>
document.addEventListener('DOMContentLoaded', function () {
    var dropArea = document.getElementById('drop-area');
    var fileInput = document.getElementById('file-input');
    // ... (We will place other JavaScript logic here later)
  });
</script>
Code language: HTML, XML (xml)
Here we are waiting for DOMContentLoaded event to be fired which will wait until the page is properly rendered and all the elements are present there. After that we are just getting our drop-area and the file-input elements by id. This will give us control to both of these items.
Understand Drag-and-Drop Events
Now we need to focus on the related events which will help us to implement the Drag and Drop functionality in the JavaScript. Let’s enlist the events which are related to drag and drop functionality.
dragstart,dragend,dragenter,dragover,dragleave,drop.
These are events which are responsible for the complete drag and drop functionalities. Their name clearly states what they, that’s why we will not focus on the basics here. We will just move on to implement the logic.
Prevent default drag behaviors
First step is to prevent the default Drag behaviors. You can simple do this by calling the preventDefaults method like follows.
['dragenter', 'dragover', 'dragleave', 'drop'].forEach(function (event) {
      dropArea.addEventListener(event, function (e) {
        e.preventDefault();
        e.stopPropagation();
      });
    });Code language: PHP (php)
We are calling the preventDefault() and stopPropagation() methods to override the default drag functionality on the list of events in one go. We are simply creating arrays of dragenter, dragover, dragleave and drop events and iterating that array with forEach. Inside this we are adding these events to the dropArea which we reference in the previous. Apply the events with the addEventListener method. This will apply all that events to the dropArea div in the DOM.
Highlight drop area when a file is dragged over
Next thing we will be doing is to highlight the drag area when someone drag some file over it. We will be doing this by overriding the dragenter and dragover events in similar way we did above.
['dragenter', 'dragover'].forEach(function (event) {
      dropArea.addEventListener(event, function () {
        dropArea.classList.add('highlight');
      });
    });
Code language: JavaScript (javascript)
In that eventListener, we are simply adding highlight class to the classList of the dropArea. Which will apply the following CSS to the dropArea.
  #drop-area.highlight {
    border-color: #007bff; /* Highlighted border color */
    background-color: #f0f8ff; /* Highlighted background color */
  }Code language: CSS (css)
Now if you go to your HTML page running in browser and try to drag some file over the drop-area div you will notice the border color is changed to blue due to the application of highlight class to the drop-area div. Here is how it looks in action.

Remove highlight on dragLeave and drop
Now that the highlight class is applied, we have to remove that class when the dragging is done which could be in two cases, one is when the drag leave the drag area, second is when drop event happens. We can simple do this in the JavaScript using the following code.
['dragleave', 'drop'].forEach(function (event) {
      dropArea.addEventListener(event, function () {
        dropArea.classList.remove('highlight');
      });
    });Code language: PHP (php)
Handles the dropped files:
Now we will handle the dragged files and will show them in a file input. For that we need to update the drop eventListener. Also, we will have to access the dropped files using e.dataTransfer.files and then update the file-input field accordingly. Here’s how we can extend our code.
// Handle dropped files
  dropArea.addEventListener('drop', function (e) {
    e.preventDefault();
    e.stopPropagation();

    // Access the dropped files
    var files = e.dataTransfer.files;

    // Display the files in the file-input field
    fileInput.files = files;

    // Optionally, you can update the label to show the number of files selected
    var fileInputLabel = document.querySelector('.form-label');
    fileInputLabel.innerText = files.length > 0 ? files.length + ' file(s) selected' : 'Multiple files input example';
  });
Code language: JavaScript (javascript)
The files will be displayed like this.

5.File Upload Handling
Now we have to submit the file to the backend. For that purpose we are getting the submit button reference in the JavaScript and adding the submit logic. You can implement this according to your backend code. For a simple demonstration we are just doing it like this.
var submitButton = document.getElementById('submit-button');
 // Handle submit button click event
  submitButton.addEventListener('click', function () {
    // Get the selected files
    var files = fileInput.files;

    // Create FormData object and append files to it
    var formData = new FormData();
    for (var i = 0; i < files.length; i++) {
      formData.append('files[]', files[i]);
    }

    // Use Fetch API to send files to the server
    fetch('/your-upload-endpoint', {
      method: 'POST',
      body: formData
    })
      .then(response => response.json()) // Assuming the server responds with JSON
      .then(data => {
        console.log('Upload successful:', data);
        // Handle the server response as needed
      })
      .catch(error => {
        console.error('Error uploading files:', error);
        // Handle errors
      });
  });
Code language: JavaScript (javascript)